 The Clarinet BBoard The Clarinet BBoard
|
Author: kthln.hnsn
Date: 2013-06-27 23:31
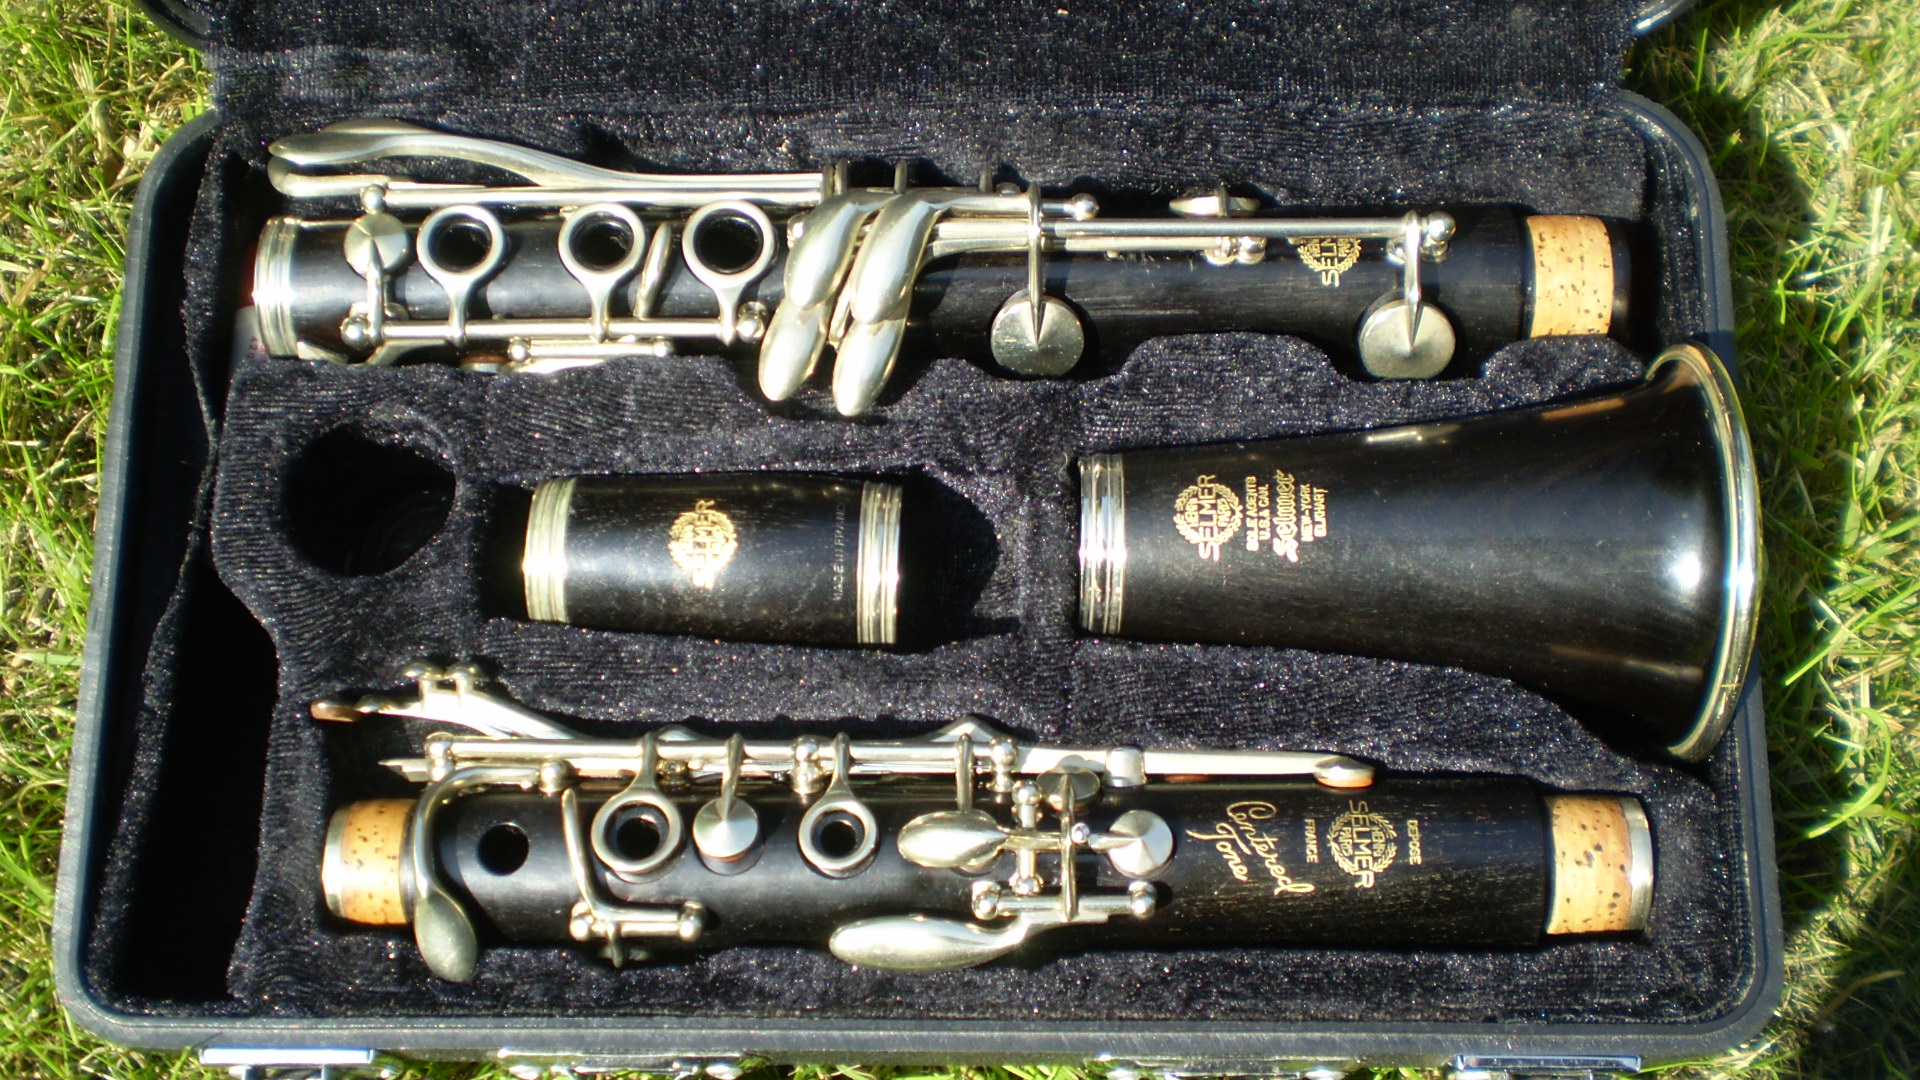
I bought this wood clarinet that had a crack which was repaired, however the pins are exposed, as if they never covered them in the first place. My question is, how can this be fixed? I know I may have to take it in to repair depending on how difficult it may be, but either way I'm just curious how one would go about this.
|
|
Reply To Message
|
|
Author: kthln.hnsn
Date: 2013-06-28 00:07
Here's a link to a picture of what I'm talking about:
http://s1318.photobucket.com/user/kthlnhnsn/media/T2eC16Ny8E9s2filutBRvydFcG1w60_57_zpsaaa08538.jpg.html?sort=3&o=0
|
|
Reply To Message
|
|
Author: tictactux ★2017
Date: 2013-06-28 00:18
Just don't worry. Wood "breathes", i.e. expands and contracts during a year's cycle. If protruding pins distract you, have them filed/sanded down, else just leave them as is.
Do store your instrument in a climate-buffered place (socks drawer, closet, etc) where it can achieve/maintain a somewhat constant humidity.
...how does it play, by the way? (this is what counts, no?)
--
Ben
|
|
Reply To Message
|
|
Author: Ken Shaw ★2017
Date: 2013-06-28 00:59
Any technician who fixes cracks can easily push the pins back below the surface and fill the holes grenadilla dust mixed with epoxy.
Ken Shaw
|
|
Reply To Message
|
|
Author: GaryH
Date: 2013-06-28 05:09
Pins are threaded, and won't just push in, but they can be ground down and the holes filled. It depends on the proficiency of the repairman, but these holes can be filled in such a way that they are difficult, if not impossible, to detect.
|
|
Reply To Message
|
|
Author: Chris P
Date: 2013-06-28 09:21
It's easy enough to mill the ends of the pins down using a pillar drill, bench motor or a Dremel so they're below the surface level, then fill in the holes in with superglue and wood dust for an almost invisible repair.
I had a CT which had multiple pins in the top joint in which both ends of them were showing, so I milled out the ends and filled them in with superglue and wood dust, then filed down, papered up and polished the illed in holes so they weren't so conspicuous.
Superglue and grenadilla wood dust is an excellent filler material as it's instantly workable so you have immediate results, unlike epoxy which needs to be left overnight before it can be worked on.
Former oboe finisher
Howarth of London
1998 - 2010
Independent Woodwind Repairer
Single and Double Reed Specialist
Oboes, Clarinets and Saxes
NOT A MEMBER OF N.A.M.I.R.
The opinions I express are my own.
|
|
Reply To Message
|
|
Author: kthln.hnsn
Date: 2013-06-29 00:55
Thank you all for your advice! I haven't been able to play it yet since it really needs to be repadded. It is a Noblet A Clarinet and I'm hoping it will have a good sound! I will probably hold off on getting the pins smoothed down until I know the clarinet will be worth it, and then I'll take it to a tech. After hearing what you guys said for fixes I don't quite trust myself to do that level of repairs especially when it comes to putting epoxy/superglue on it lol! Thanks again!
|
|
Reply To Message
|
|
Author: clarnibass
Date: 2013-06-29 04:21
>> It's easy enough to mill the ends of the pins down using a pillar drill, bench motor or a Dremel so they're below the surface level <<
Yes, I'd use (and have used) a ball bit on a dental micromotor.
|
|
Reply To Message
|
|
Author: Chris P
Date: 2013-06-29 05:41
When filling holes in grenadilla, I've found it's better to fill holes that have squared edges as opposed to feathered edges as the filler will become very thin at the edges and may chip or flake off.
Clarinet body walls are around 8mm thick, so you've got plenty of depth to cut into without going through to the bore. You only need to go around 1.5mm to 2mm deep at the most when milling the ends of the pins down.
It will be useful to have a scrap piece of grenadilla (eg. a scrap joint or cracked barrel or bell) and use a coarse file to make powder to use in conjunction with superglue. Apply a drop of superglue in the milled out hole then sprinkle some wood dust into it, then more superglue followed by more wood dust until you've built up enough filler, then file the excess down and wrap some 400 grit paper around a file to paper the filler down to the joint surface, then use 800 and finish with 1000 or 1200 and finally use the backing paper, then polish it up either by hand ragging with tripoli or machine polish. Paper it up over a wide area (around 10-20mm in every direction) so you don't leave a noticeable dip on the joint surface.
If the finish on the rest of the joint is highly polished to a deep gloss, try to match this by polishing with finer grades of polish and finish with cloth alone (again, either by hand or machine). If the clarinet is old and has a rough, grainy look to it, then lightly use a brass or wire brush or lightly rub coarse abrasive over in the same direction as the grain to distress the freshly papered up and polished area to match the rest of the joint. Buffets and Yamahas usually have this brushed finish on their wooden clarinets, so do this with a brass or wire brush (or lightly brushed over with coarse abrasive) to make the repaired area blend in.
Former oboe finisher
Howarth of London
1998 - 2010
Independent Woodwind Repairer
Single and Double Reed Specialist
Oboes, Clarinets and Saxes
NOT A MEMBER OF N.A.M.I.R.
The opinions I express are my own.
|
|
Reply To Message
|
|
Author: clarnibass
Date: 2013-06-29 12:43
>> When filling holes in grenadilla, I've found it's better to fill holes that have squared edges as opposed to feathered edges as the filler will become very thin at the edges and may chip or flake off. <<
When using a round bit, it is not like a tapered bit. Especially if using the round bit deeper than half its "length" (diameter), which I pretty much always do. The edges are more similar to square than feathered this way.
So the "feathered" holes I filled were no problem at all, though they weren't really feathered much or at all most of the time.
|
|
Reply To Message
|
|
Author: Gordon (NZ)
Date: 2013-06-29 13:12
I actually use a round bur, a bit larger than the rod diameter, cutting to about half its diameter, to make a starting point for the drill. So "feathering" of the edge rarely occurs.
|
|
Reply To Message
|
|
Author: Chris P
Date: 2013-06-29 14:49
Spherical cutters (round bits) will leave a good crisp edge for filling, but I meant something very different with the term 'feathering'.
When I said feathered edge, I meant the kind of very gradual thinning of the filler as you would do when doing car body repair work (for example) so the filler blends in with the rest of the bodywork leaving no distinct edge - that's fine for spray painting, but on woodwinds the filler is more successful if there's a sharp edge surrounding the blind hole to be filled.
If this is done with superglue and wood dust, the extreme edges of the filled area will be mostly superglue with little or no wood dust remaining and the superglue will leave a fairly wide shiny border around the the filled in area which will be more conspicuous in comparison to a filed in blind hole with straight sides and sharp edges where the filler meets the wood with no shiny border - there'll be a distinct difference in appearance between the natural wood and the superlue/wood dust mix, but only really visible under strong light.
Former oboe finisher
Howarth of London
1998 - 2010
Independent Woodwind Repairer
Single and Double Reed Specialist
Oboes, Clarinets and Saxes
NOT A MEMBER OF N.A.M.I.R.
The opinions I express are my own.
Post Edited (2013-06-29 17:47)
|
|
Reply To Message
|
|
Author: Chris P
Date: 2013-06-29 15:02
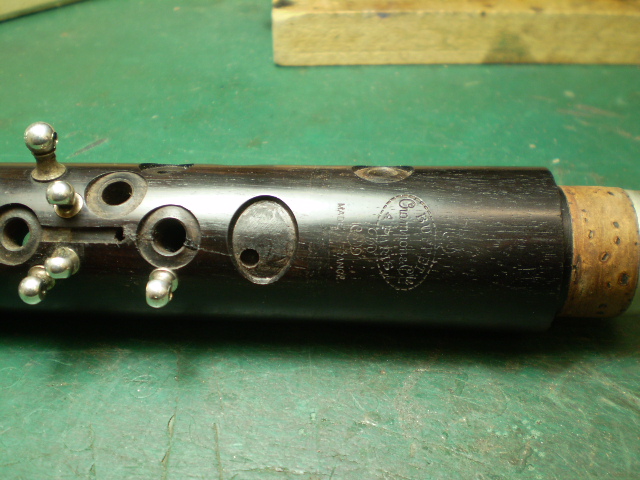
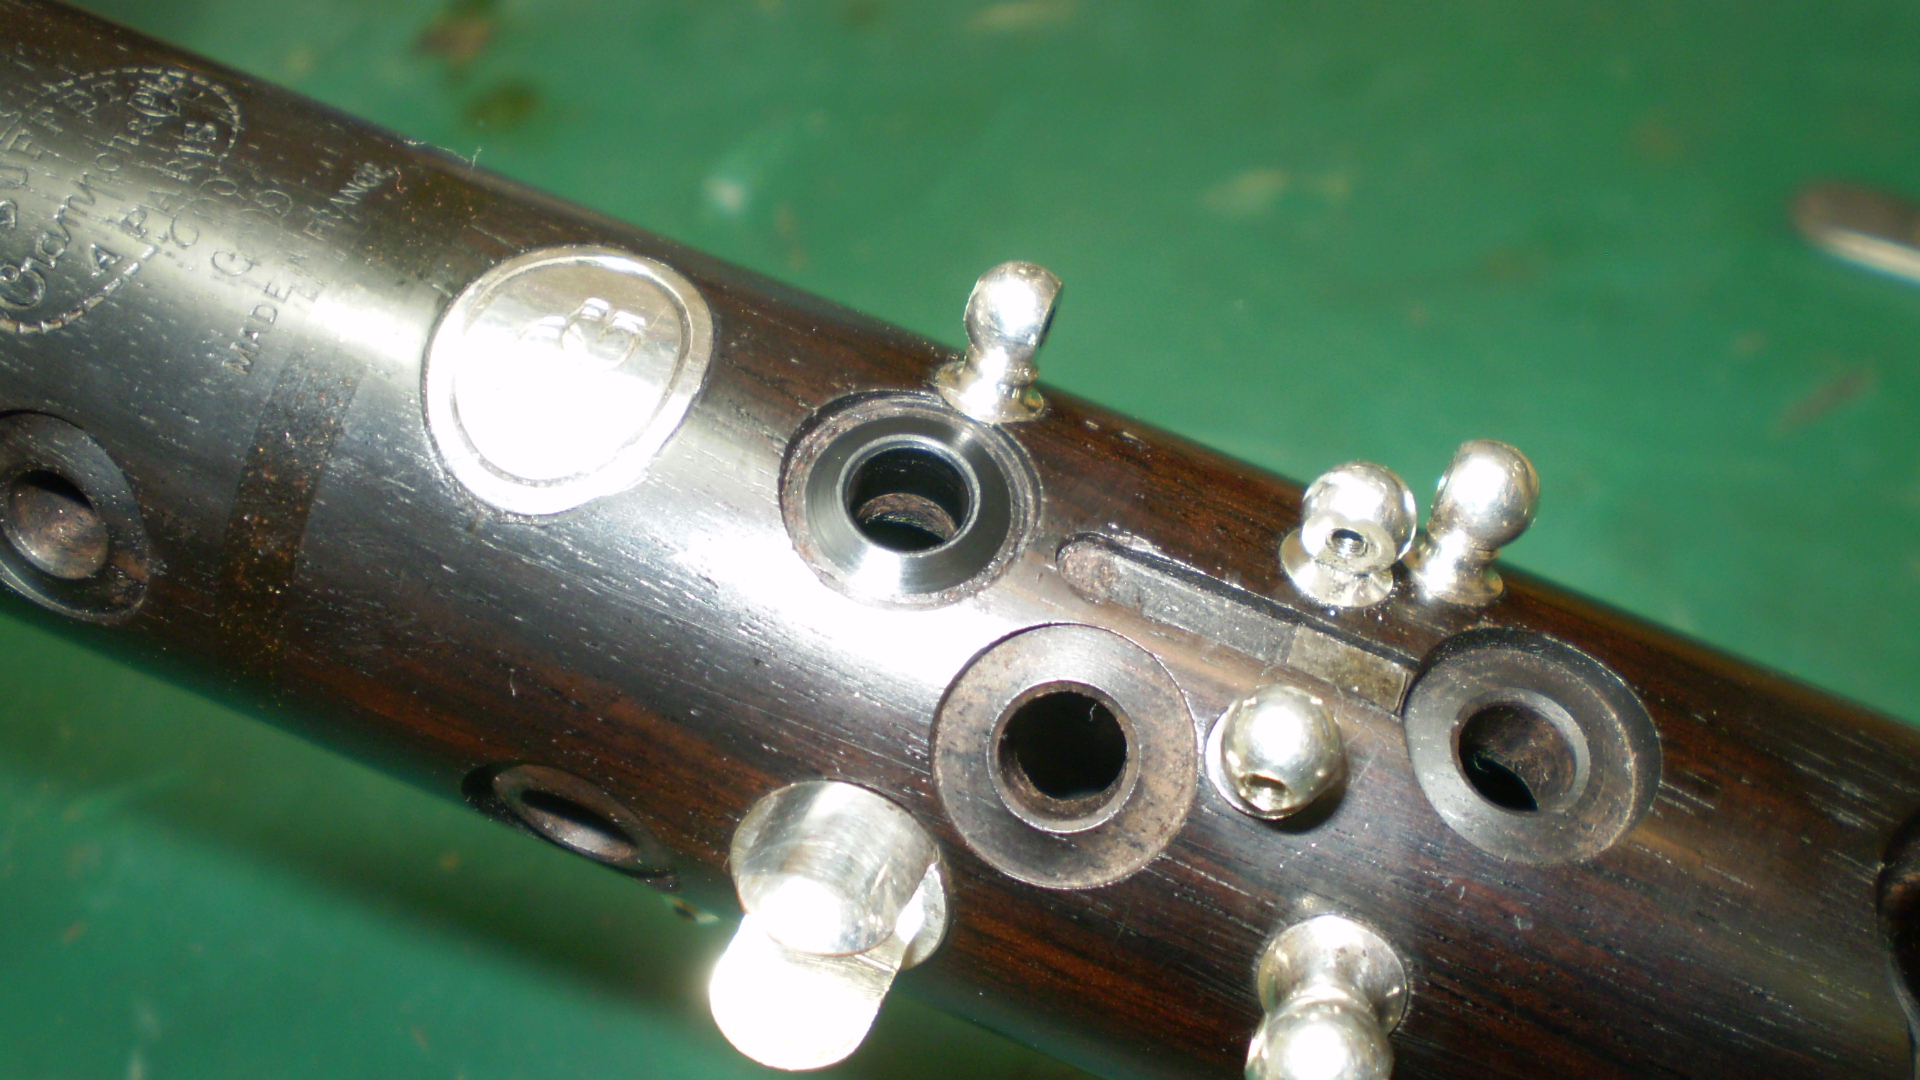
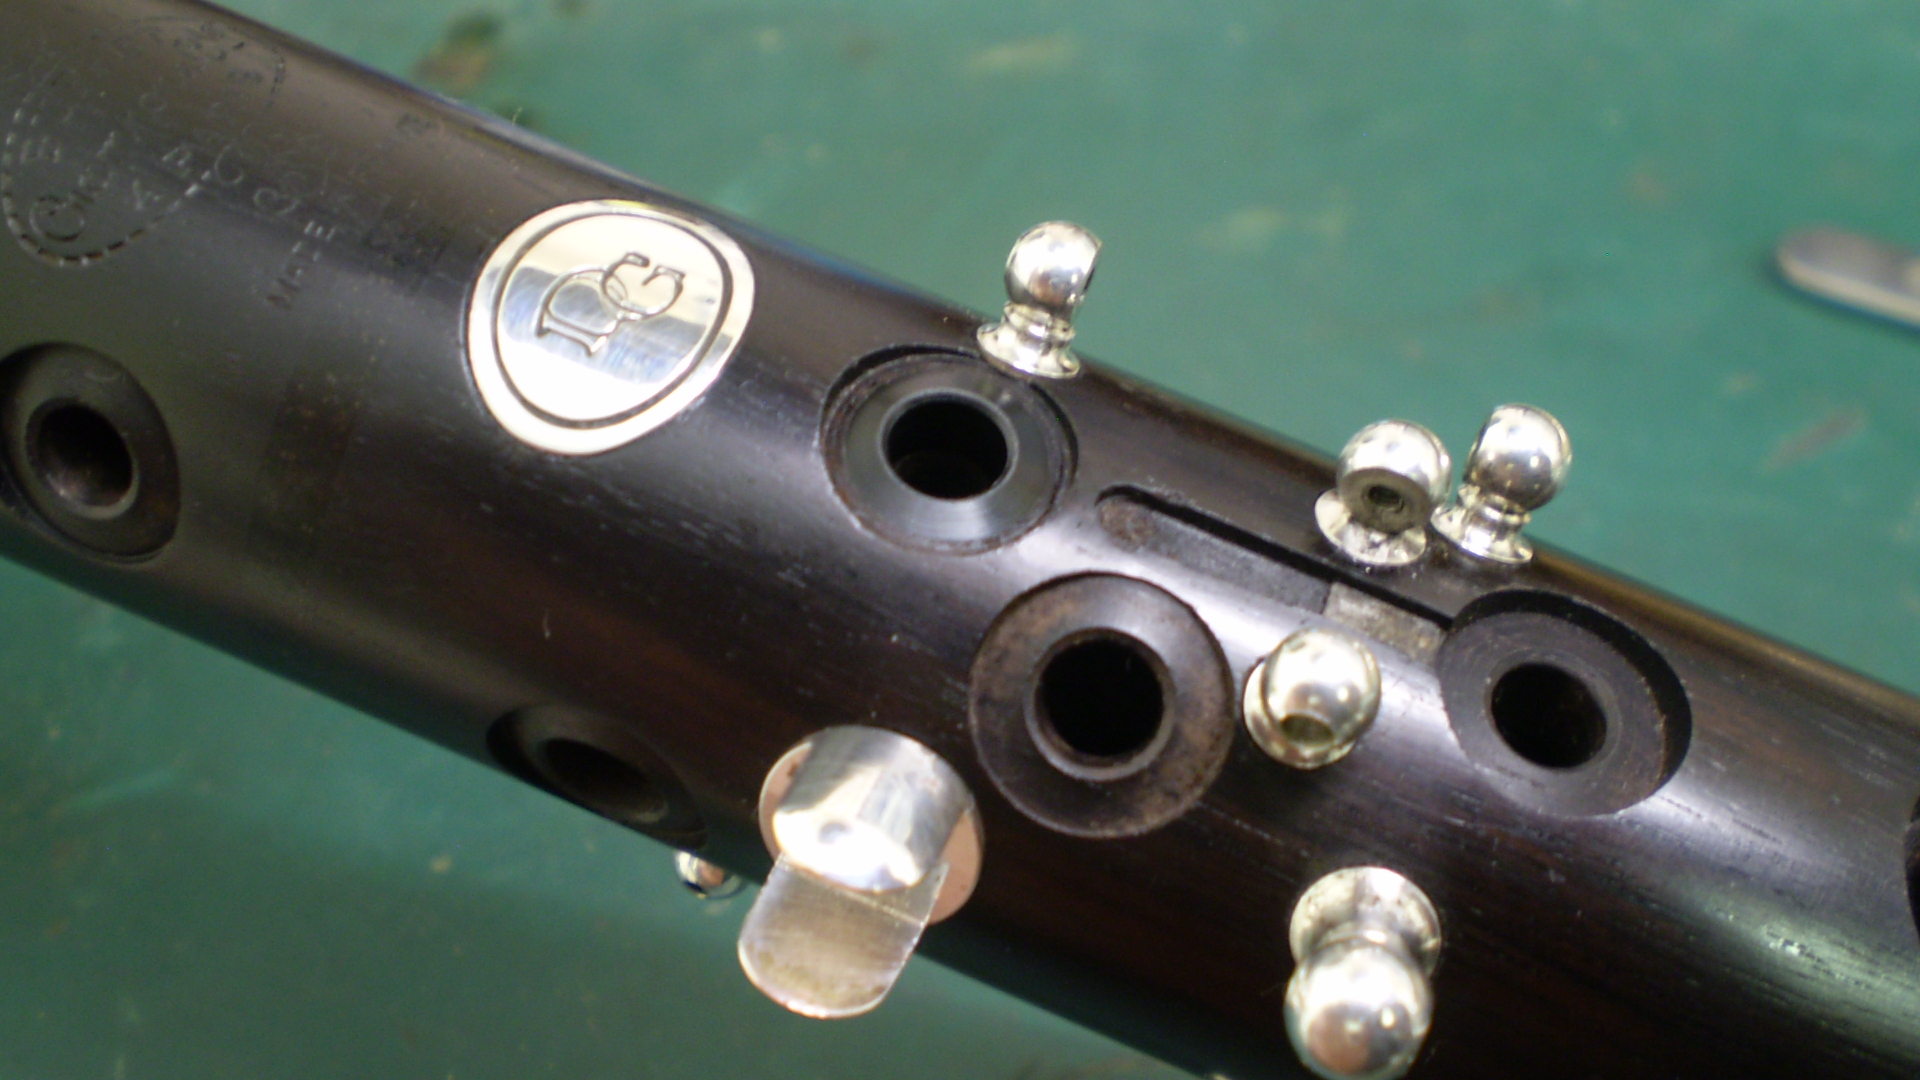
Attachment: dgprestigebushedtonehole 001.JPG (703k)
Attachment: dgprestigebushedtonehole 002.JPG (689k)
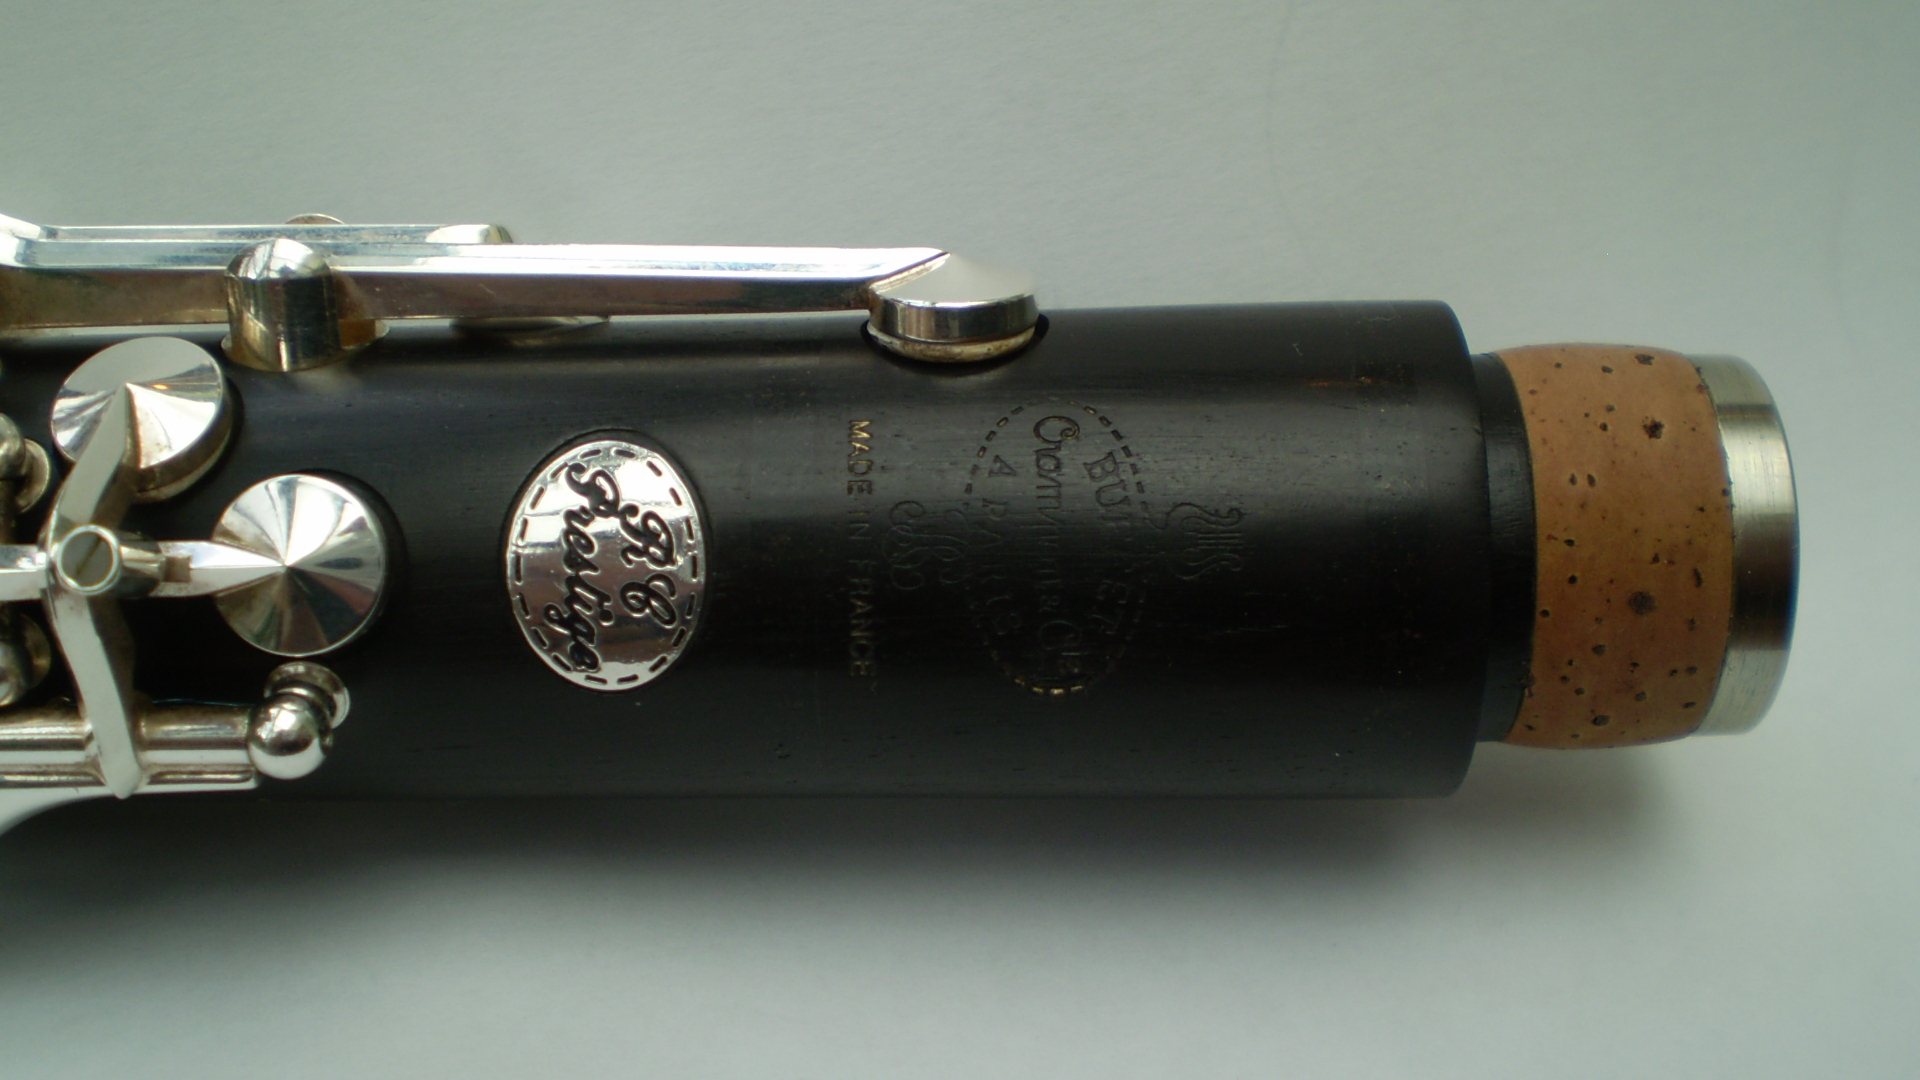
Attachment: rcprestige 004.JPG (639k)
Attachment: rcprestige 002.JPG (615k)
If you were still concerned about the crack through throat A tonehole, I bushed it as you can see in the attached photos.
And a few after photos of another cracked Buffet that I carbon fibre banded not long after the DG Prestige.
Former oboe finisher
Howarth of London
1998 - 2010
Independent Woodwind Repairer
Single and Double Reed Specialist
Oboes, Clarinets and Saxes
NOT A MEMBER OF N.A.M.I.R.
The opinions I express are my own.
|
|
Reply To Message
|
|
Author: Chris P
Date: 2013-07-02 10:20
Funny thing is the aforementioned early CT which had all the exposed pins in the top joint has come back to me for a full service, so I'll take a few photos of what I did to that to hide them.
Former oboe finisher
Howarth of London
1998 - 2010
Independent Woodwind Repairer
Single and Double Reed Specialist
Oboes, Clarinets and Saxes
NOT A MEMBER OF N.A.M.I.R.
The opinions I express are my own.
|
|
Reply To Message
|
|
Author: Chris P
Date: 2013-07-05 09:11
Attachment: earlyct 001.JPG (676k)
Attachment: earlyct 002.JPG (675k)
Attachment: earlyct 003.JPG (692k)
Attachment: earlyct 004.JPG (685k)
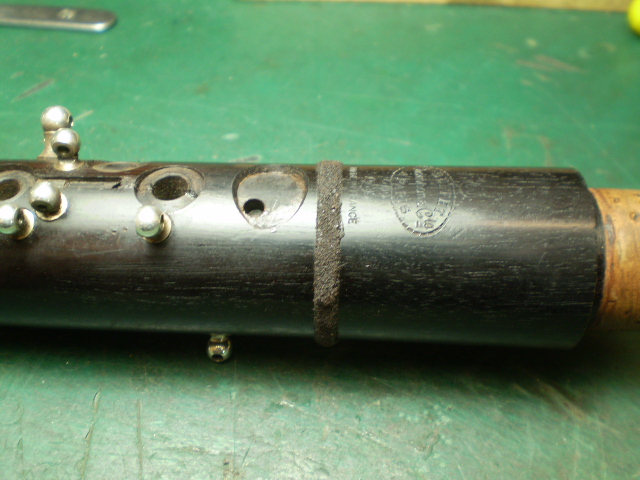
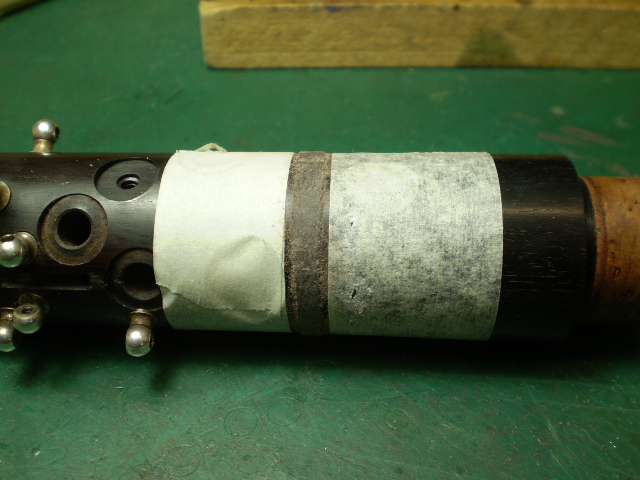
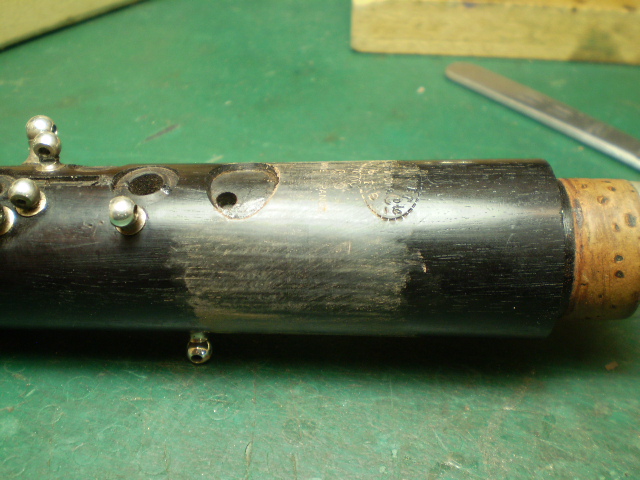
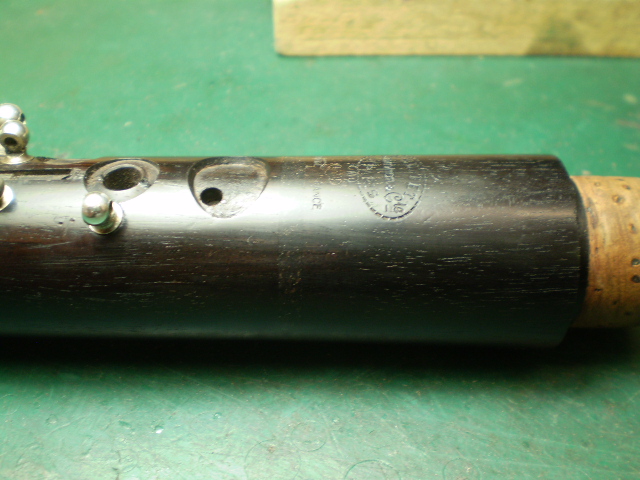
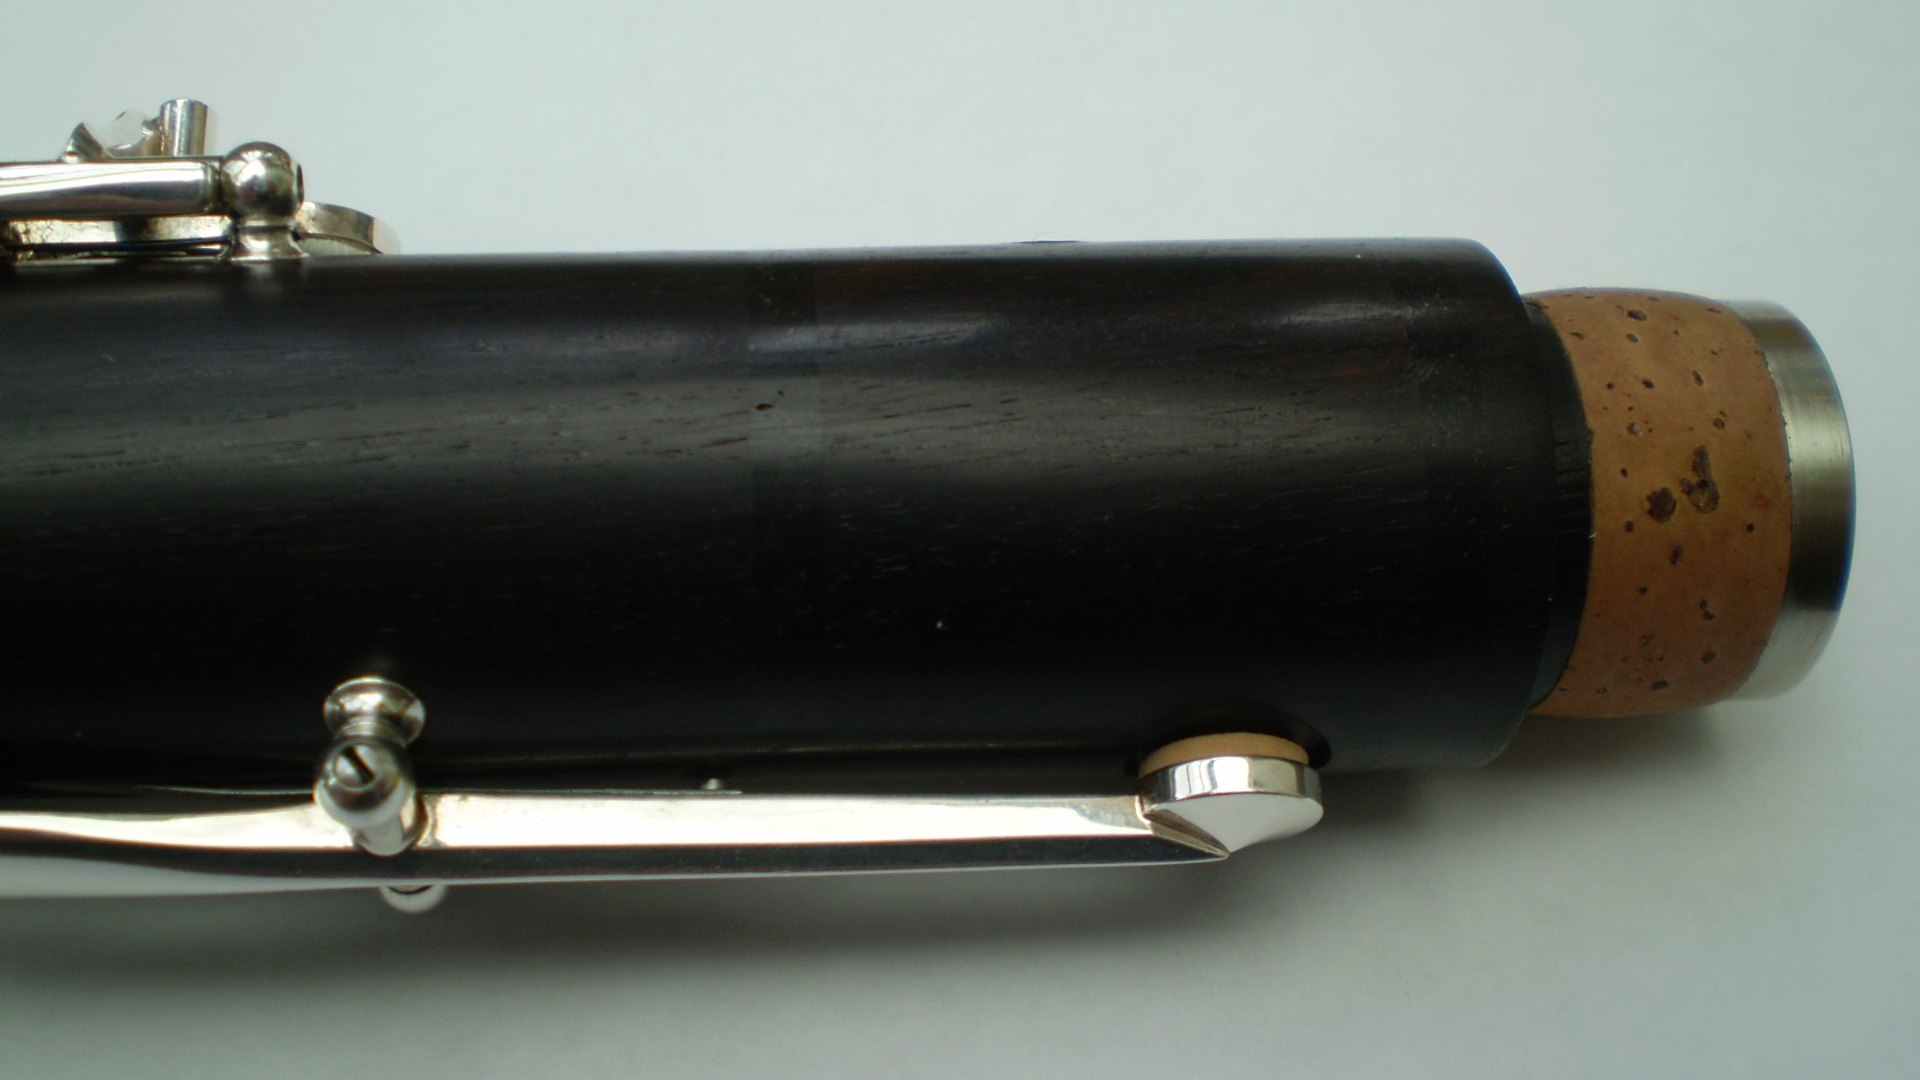
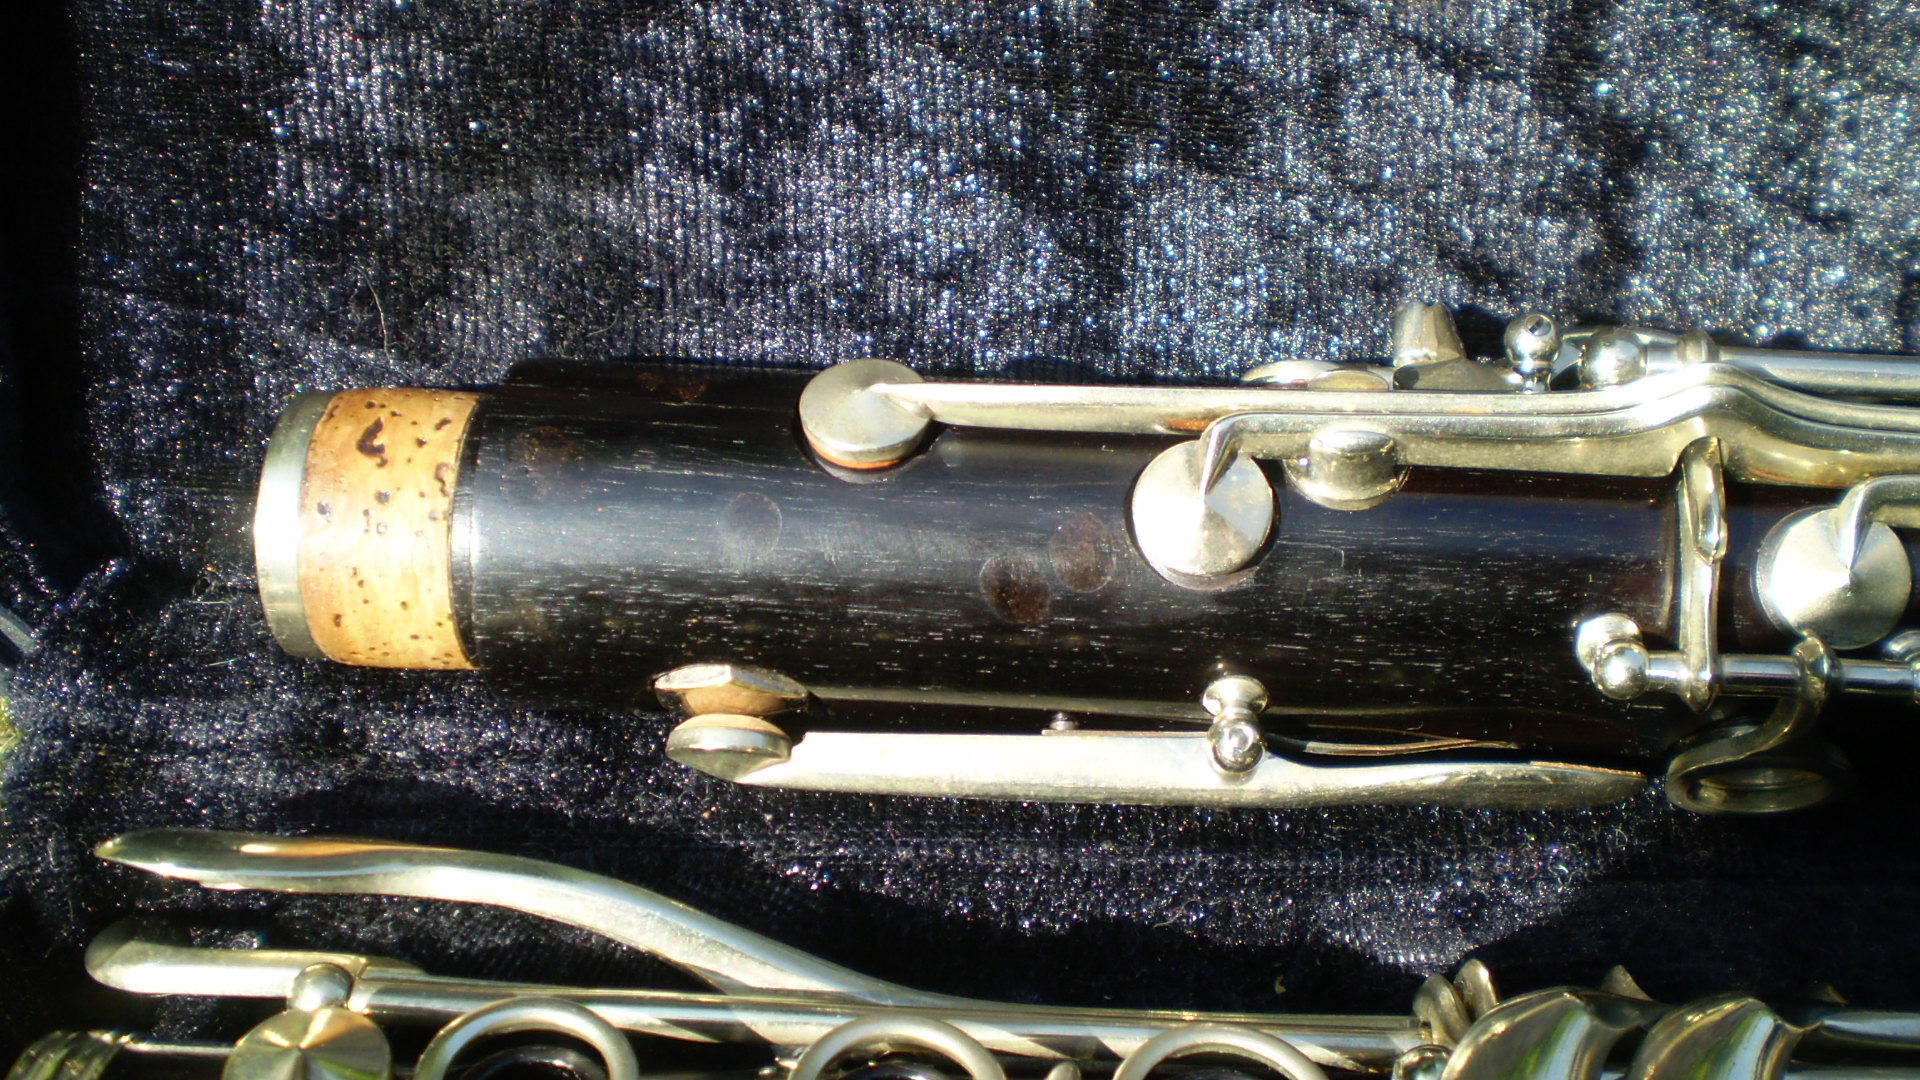
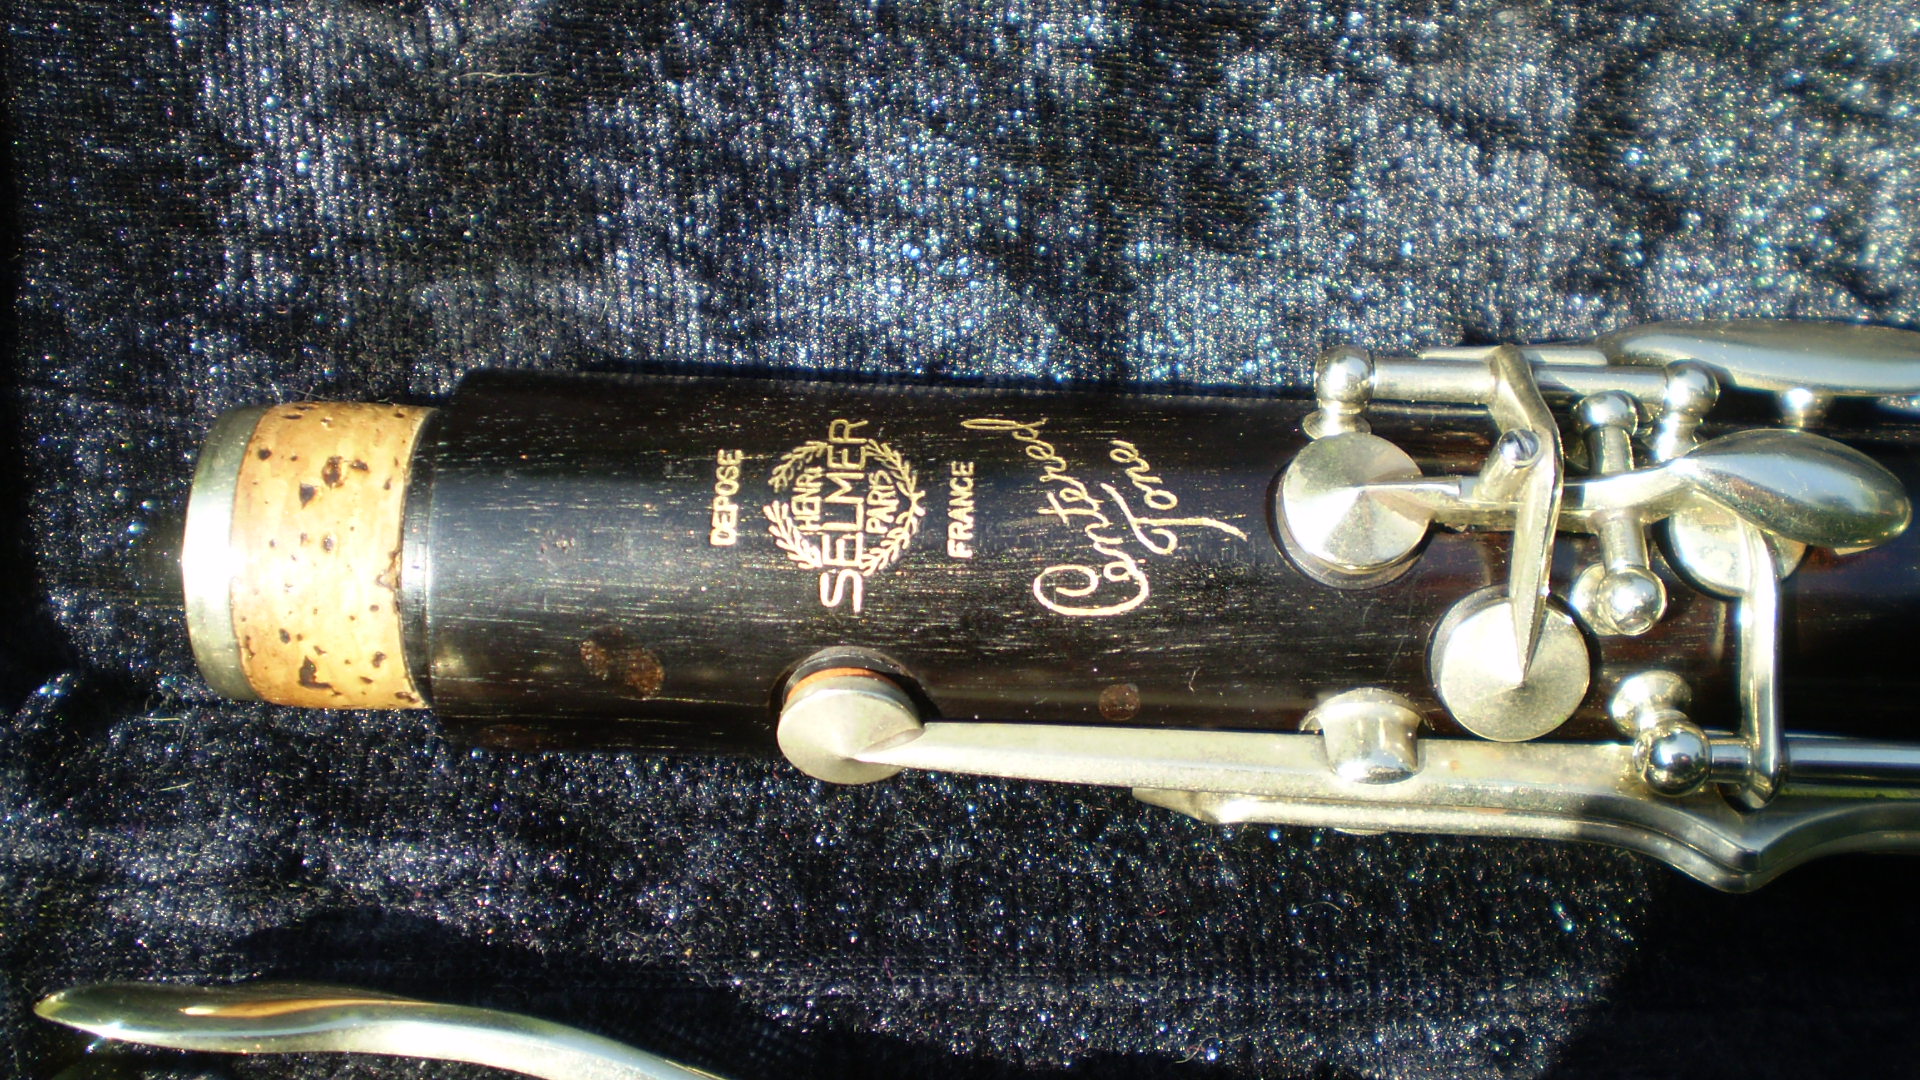
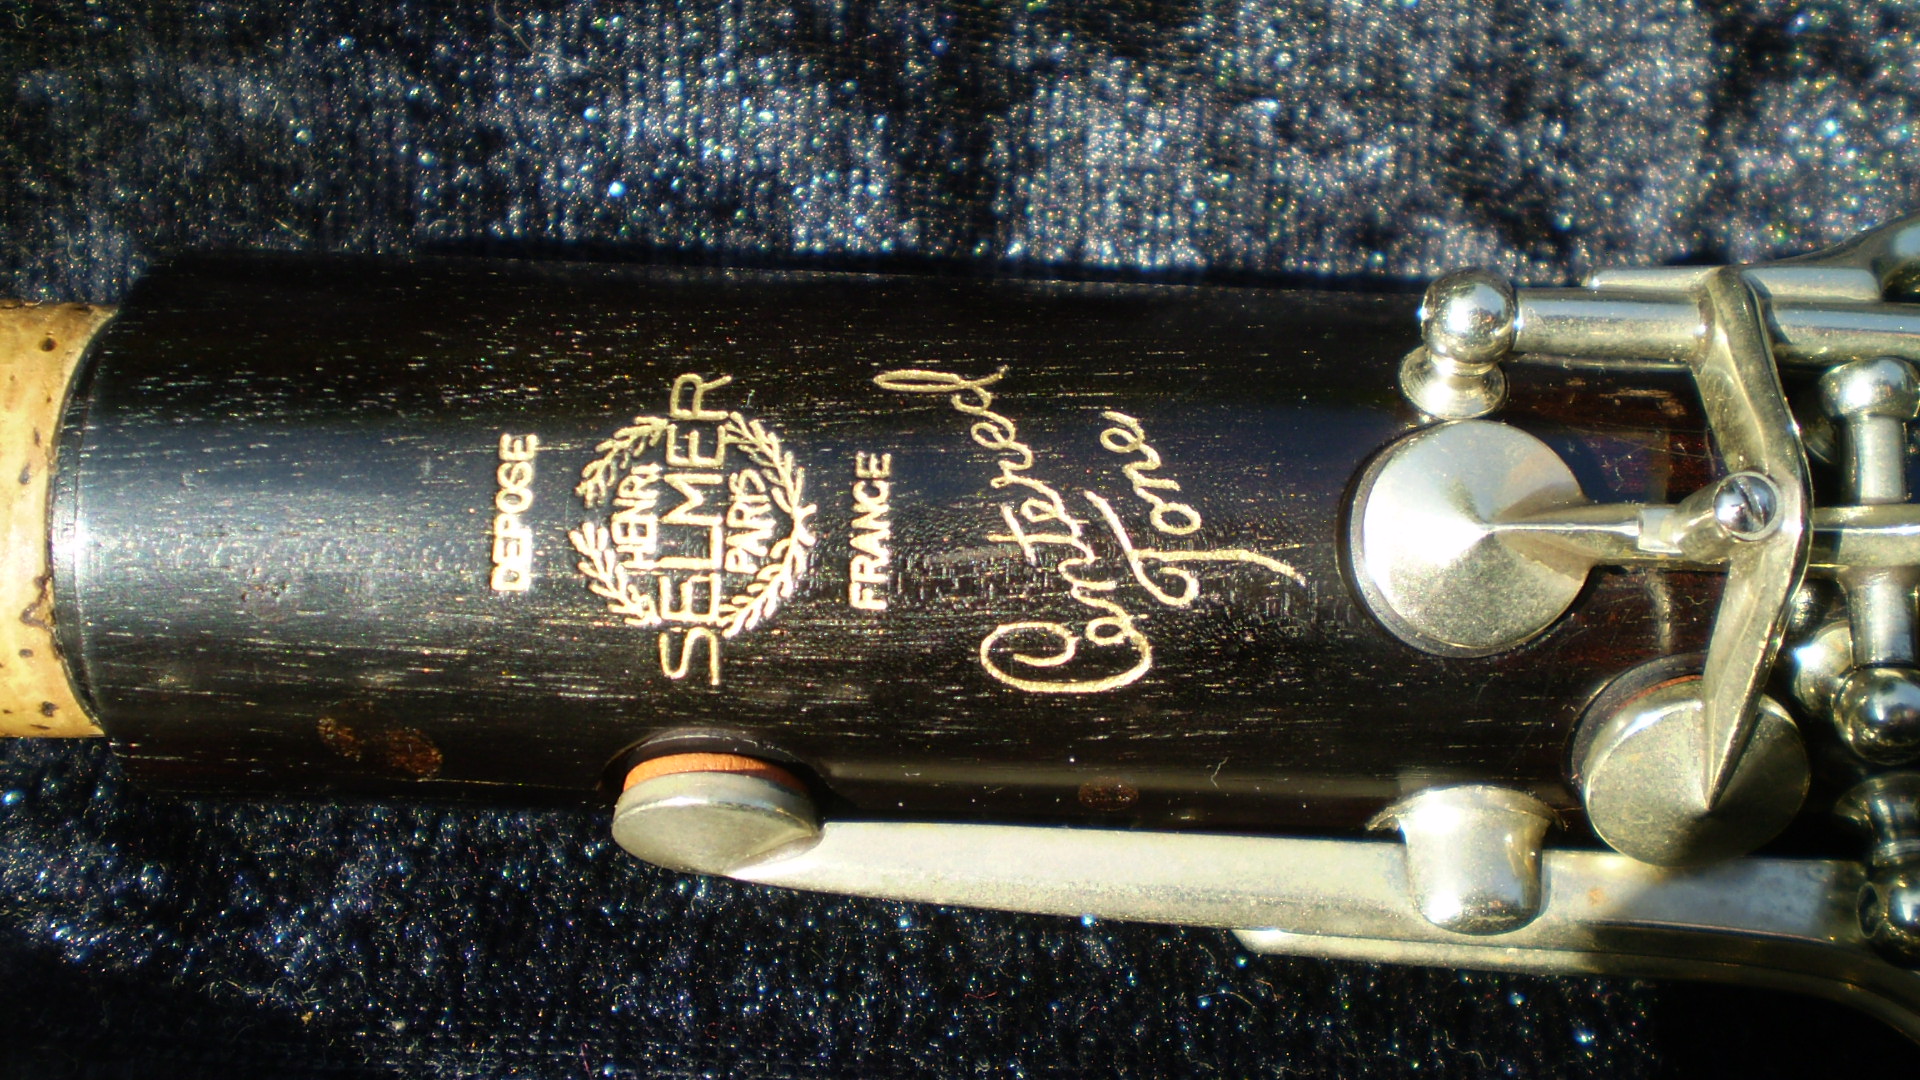
Attached are photos of the N84xx CT (original top joint) which had all the pins countersunk and filled in - I wish I took a photo of how it was before as some of the ends of the pins were proud of the joint surface.
I used low viscosity superglue on this which wasn't such a good idea as it boiled when it reacted with the wood dust, so the filler has some bubbles in it. Best to use regular medium viscosity superglue as that doesn't react so violently.
Former oboe finisher
Howarth of London
1998 - 2010
Independent Woodwind Repairer
Single and Double Reed Specialist
Oboes, Clarinets and Saxes
NOT A MEMBER OF N.A.M.I.R.
The opinions I express are my own.
Post Edited (2013-07-05 09:40)
|
|
Reply To Message
|
|
Author: Chris P
Date: 2013-07-05 14:21
There are so many cosmetic things you can get away with on old tatty instruments! While it looks tatty, it plays like a dream - I just had a call from the owner who is over the moon with how easy it plays now I've serviced and de-fluffed all the toneholes which was causing the stuffiness in the throat notes before. She has taken excellent care of it in the two years she's had it for, but there are things that the general player can't do no matter how meticulous their maintenance regime is and most won't dare remove keys.
Former oboe finisher
Howarth of London
1998 - 2010
Independent Woodwind Repairer
Single and Double Reed Specialist
Oboes, Clarinets and Saxes
NOT A MEMBER OF N.A.M.I.R.
The opinions I express are my own.
Post Edited (2013-07-05 14:24)
|
|
Reply To Message
|
|
Author: Tony F
Date: 2013-07-05 14:46
I am often surprised by the fact that often players of great experience do not have enough confidence in themselves to take off keys and perform simple repairs.
Recently a player in a community band I belong to proposed to send his R13 away to a repairer in Sydney, nearly 600 miles away, because he had an accumulation of crud in the vent tube. It took me quite a while to persuade him that it was a simple job that I could do for him in 5 minutes. He made noises like an anxious chicken when I took the register key off, and was somewhat disbelieving when I gave him his instrument ready to go a couple of minutes later.
He has never taken a key off and has never even thought about doing so. I've offered to give him a run-through on the process, but he won't do it. He's by no means unique, although he is an extreme case.
Tony F.
|
|
Reply To Message
|
|
Author: Gordon (NZ)
Date: 2013-07-05 15:02
I think that those of us who have grown up with tools, and using them, have no idea what it is like to not have this background. To illustrate...
A friend had borrowed a battery drill, to bore a hole through his floor for the wire for an extension phone.
He asked me to lend him a "spade bit", which I did. He returned it with a broken-off tip. I asked him how that happened.
It turns out that he used the battery drill as a no more than a spade handle, for the spade bit, and without even turning the drill on, had used the assembly to dig a hole as you would with a spade in the garden.
It would be best if he did not begin to disassemble a clarinet!
|
|
Reply To Message
|
|
Author: Chris P
Date: 2013-07-05 15:24
I think if someone hasn't got the aptitude for this sort of thing, it's best not to tempt fate and let them have a go as they could really bugger things up. I've had to put right no end of instruments where someone or their dad has decided to have a go themselves.
Some people are horrified whenever I send them a photo of their beloved instrument all in as many pieces as is humanly possible - I'm a bit mean like that!
Former oboe finisher
Howarth of London
1998 - 2010
Independent Woodwind Repairer
Single and Double Reed Specialist
Oboes, Clarinets and Saxes
NOT A MEMBER OF N.A.M.I.R.
The opinions I express are my own.
Post Edited (2013-07-05 16:12)
|
|
Reply To Message
|
|
Author: kthln.hnsn
Date: 2013-07-07 04:11
Ever since I started playing clarinet I've taken it apart and put it back together, whether or not I knew what I was doing I would actually make makeshift pads for ones that needed to be replaced because my family couldn't afford to have it sent in to be repaired ( the local music store charged way more than an arm and a leg for woodwind repairs and they honestly never did a good job anyways and when I wanted to just buy pads from them they were going to charge me nearly as much for a whole repadding! And this was before my family had internet and the next nearest music shop was an hour away). I believe my object of choice to make pads was bandaids for the outer part and the inner part was some surgical cotton cut to shape. It amazingly worked well and no one ever noticed it! Of course now I have access to actual materials specific for repairs so no worries, I no longer use bandages :P
|
|
Reply To Message
|
|
The Clarinet Pages
|
 |

